5 Steps To Repairing Rotting Timber Window Frames
Long-lasting and environmentally-friendly, it’s no wonder that wooden timber is a popular material to use as window frames. Able to be customised and offering that ‘classic’ look to the home, timber window frames have also been found to be great insulators of heat too – keeping the warmth inside on those cold winter nights. Due to these reasons, it’s easy to see why they have been used in homes for hundreds of years – and continue to be done so.
Once in a while though, a wooden timber frame can attract damp, which will rot it from the inside, providing you with an extremely loose window. This happening is very rare and only happens in window frames that are old and haven’t been treated for a number of years. If you notice any moisture getting through your window – it’ll be for the best to check if your frame isn’t suffering from any rot. If you notice any rot, then they are in bad need of sash window repair.
5 steps to repairing rotten timber window frames
Carrying out this type of work can be difficult and time-consuming, it’s a job that’s better carried out by the more-experienced of DIY users. With this in mind, here are 5 steps to take if you need to repair your timber window frames;
1. Investigate the extent of the damage. Once you have felt the timber starting to rot, you will need to look at the extent of the problem. A simple poke with a screwdriver will give you a good idea of the extent of any damage that is present in the wood, but is hidden under layers of paint. If your screwdriver sinks into the wood, then you’ll know how much needs to be repaired – if it sinks in too much, you’ll need to replace the whole frame.
2. Making good the timber frame. Once you’ve safely unscrewed the window, you will need to cut away the damaged parts of the window frame. Be sure that you are able to shape the space left, to be as regular as possible – even if some good wood has to be removed, you will need a decent space to fit new pieces of wood in. You can apply wood hardener to any end grain or rough edges that are left, leaving them sound enough to fit with the new parts.
3. Using filler. Once you have spliced your new timber for the frame, you will need to fit it in the space and secure it with filler. It’s important to remember that you shouldn’t use too much filler in one place – due to the nature of wood expanding and being affected by moisture, too much filler will cause cracks to appear. This will render your sash window repair useless. Timber that has been cut well will need very little filling, if any at all – so concentrate on cutting the wood as accurately as you can.
4. Glazing and putty. Be sure to pay close attention to the putty or beading seal against the glass and frame of your window. Usually, you can see from the inside if the putty has pulled away from the glass, as there’ll be moisture getting in and causing mould. If that seal is broken and water gets in – then timber rot will follow. Check the putty to make sure you avoid these future problems – you may have to completely replace it if it isn’t in a good condition, which is probably for the best if you need to make sure that the window will be fully-protected. Any cracked or loose putty should be completely removed.
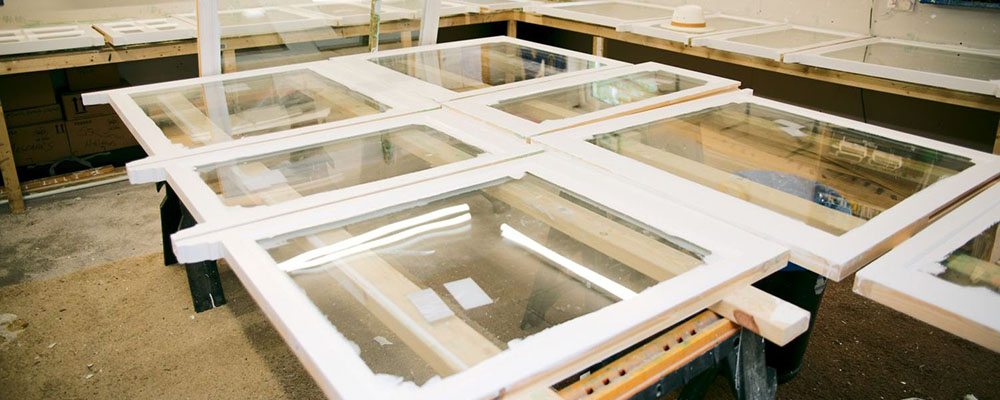
5. Priming and painting. Now you are able to finish off your new window with primer and paint of the colour of your choice! Be sure to use water-resistant paint and always prepare the frame with a couple of brushes of undercoat, before you paint over it.
Kellys Sash Windows – quality sash window repair!
Here at Kellys Sash Windows, we are sash window repair experts who are able to work on windows and doors in all styles of property; from classic Victorian terraced houses to elegant town houses and many other fantastic historical buildings. If you require any help in restoring, repairing or fitting any sash windows, or just want more information, please don’t hesitate to contact us on 0118 926 1411 or e-mail us at enquiries@kellyssashwindows.co.uk


